Getting Started
Create a tenant, register a domain, and create an application to generate client credentials.
Before you integrate Idura Verify into your application, you need to configure your environment in the Idura Dashboard. It takes about two minutes and gives you the client credentials required to build your own eID-based login flows.
A tenant represents your organization’s isolated environment at Idura.
Risk-free testing: Your free account includes a sandbox environment with unlimited test logins, so you can build and test your integration without any obligations or unexpected costs.
Everything you do with Idura requires a domain to route your authentication requests.
.test.idura.broker domain for your local development and testing.acme-corp.test.idura.broker.An application represents the software you are building (e.g., your React frontend or Node.js backend). Creating an application generates the client credentials your code needs to communicate with Idura Verify.
urn:my:application:identifier:123) or create a custom one.http://localhost:3000/api/auth/callback for local development).
Note: Wildcards are not supported, but you can always add more URLs to the list.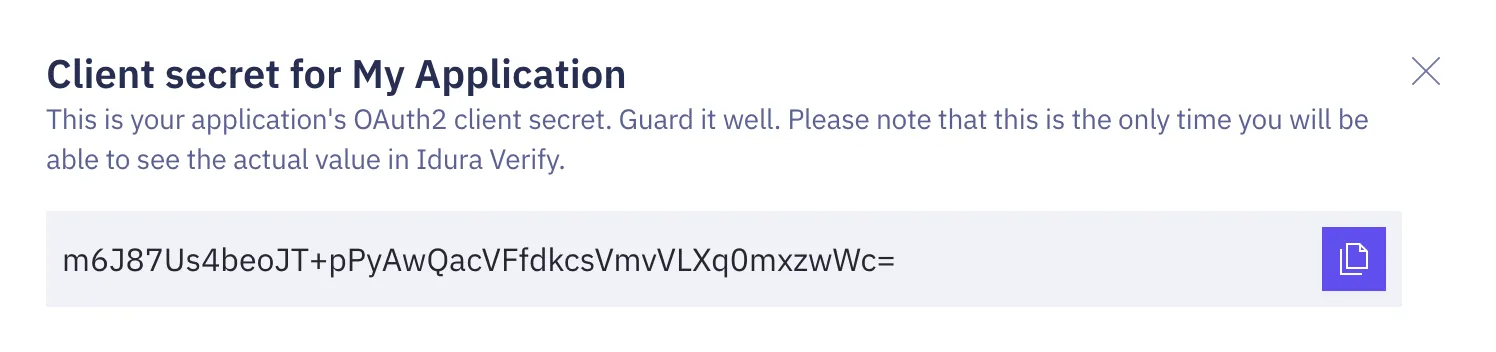
Client secrets are for server-side applications only. If you are building a Single-page application or a native mobile app, you cannot securely store a secret. Use PKCE instead.
If you lost your client secret or need to generate one, you can do so from your Application settings.
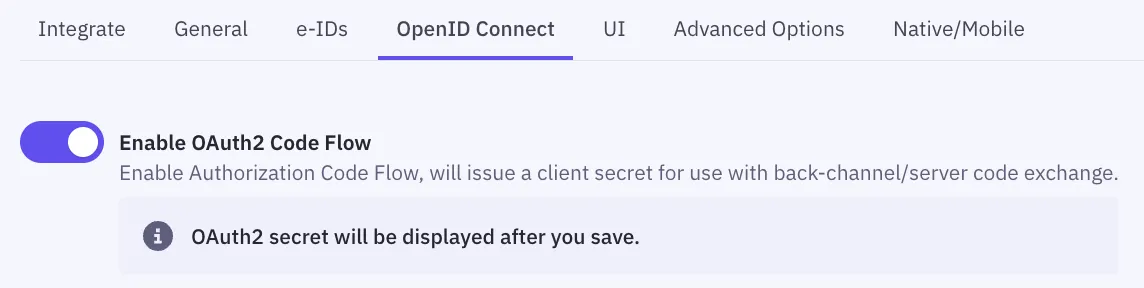
For maximum security in production, we recommend moving away from client secret authentication and replacing it with safer alternatives:
Learn more in our OpenID Connect security best practices guide.
Your Dashboard is configured and your client credentials are ready to use.
To run test logins, you need a test user for each eID you plan to use. Note that you can’t use your real, personal eID in a Test environment.
Ready to test? Create your first test user.